Set Sail with SSO: A Buccaneer's Guide to Seamless Authentication in Microsoft Copilot Studio
- Tristan Danic

- Apr 6, 2025
- 3 min read
Updated: Apr 28, 2025
Introduction
Ahoy, matey! Single sign-on (SSO) be a mighty authentication mechanism that lets users access multiple applications with a single set of credentials. 🏴☠️
In the realm of Microsoft Copilot Studio, SSO makes the user experience smoother by enabling seamless access to agents deployed on various platforms. ⚓️
This guide will steer ye through the process of configuring SSO using Microsoft Entra ID, ensuring yer users can authenticate effortlessly across supported channels. 🏴☠️
Let's set sail on this journey! 🌊
Step-by-Step Guide
Step 1: Prerequisites
Before you begin, ensure you have the following prerequisites in place:
Microsoft Entra ID:
Ensure you have access to Microsoft Entra ID for authentication.
Make sure that you either are able to create app registration and approve API permissions
If you don't have access as an administrotor to Azure ressuources, make sure to embark an administrator in your crew !
Copilot Studio:
Set up your agent in Copilot Studio.
This one must be with manual authentication
Custom Canvas:
Prepare your custom canvas where the agent will be deployed.
If you are using your agent in a website make sure to have the proper credentials to set it up.
Step 2: Create your agent or use an existing one
Navigate to https://copilotstudio.microsoft.com/:
Select your agent
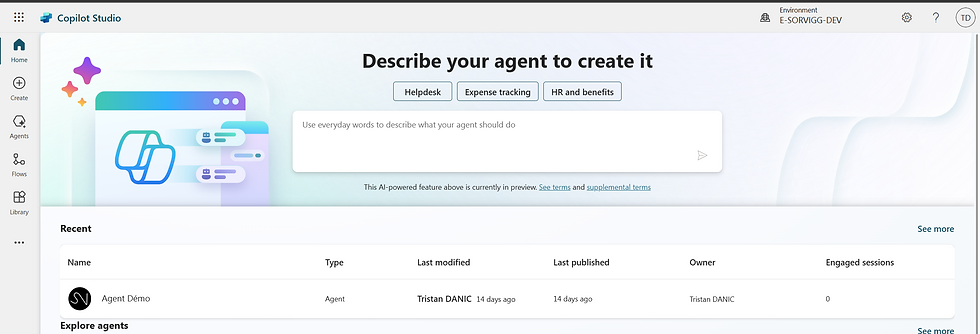
Or start from scratch in a solution (to create a new solution, follow the guide)
Step 3: Create an "SSO" App Registration in Microsoft Entra ID (to be used by the destination platform)
Navigate to Microsoft Entra ID:
Go to the Microsoft Entra ID portal and sign in with your credentials.

Create a New App Registration:
Select "App registrations" from the left-hand menu.
Click "New registration".
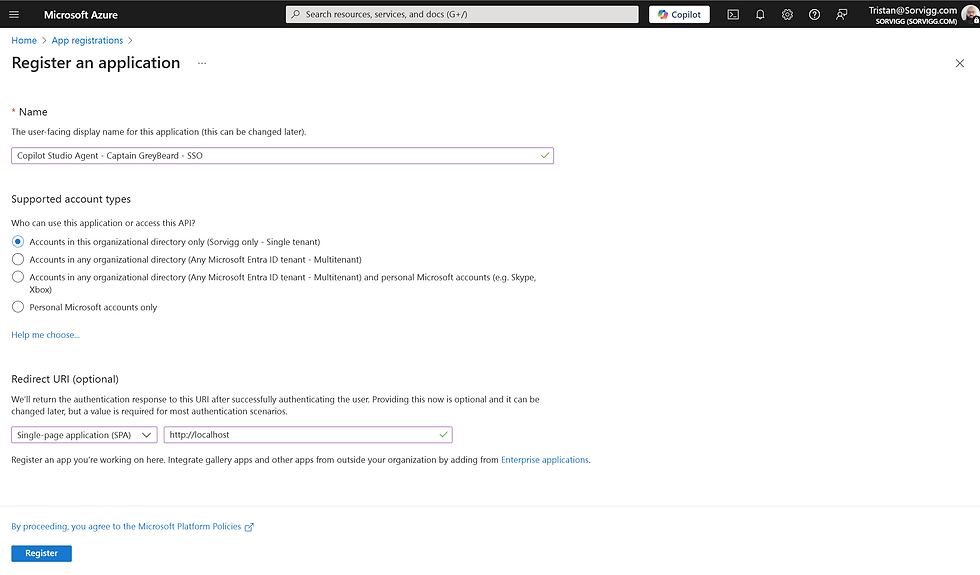
Enter App Details:
Name: Provide a unique name for your app (e.g., "Copilot Studio Agent - Captain GreyBeard - SSO").
Supported Account Types: Choose the appropriate option based on your requirements (e.g., "Accounts in this organizational directory only").
Redirect URI: Enter the redirect URI for your custom canvas (e.g., https://your-custom-canvas-url).
Register the App:
Click "Register" to create the app registration.
This App Registration will be used on your final location.
Important
SSO is currently not supported when an agent has been either:
Published to a Power Apps portal.
Published to a SharePoint website as an iframe.
However, SSO is supported for an agent that has been published to a SharePoint website as an SPFx component. Authentication
Make sure to select the tokens you would like to be issued by the authorization endpoint:
Access tokens (used for implicit flows)
ID tokens (used for implicit and hybrid flows)
Authorized APIs
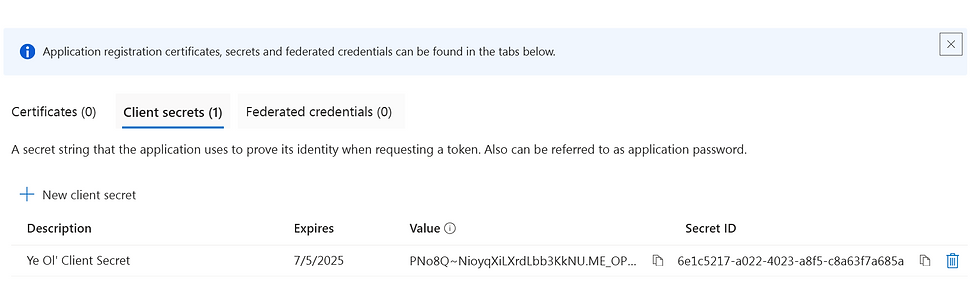
Client Secret
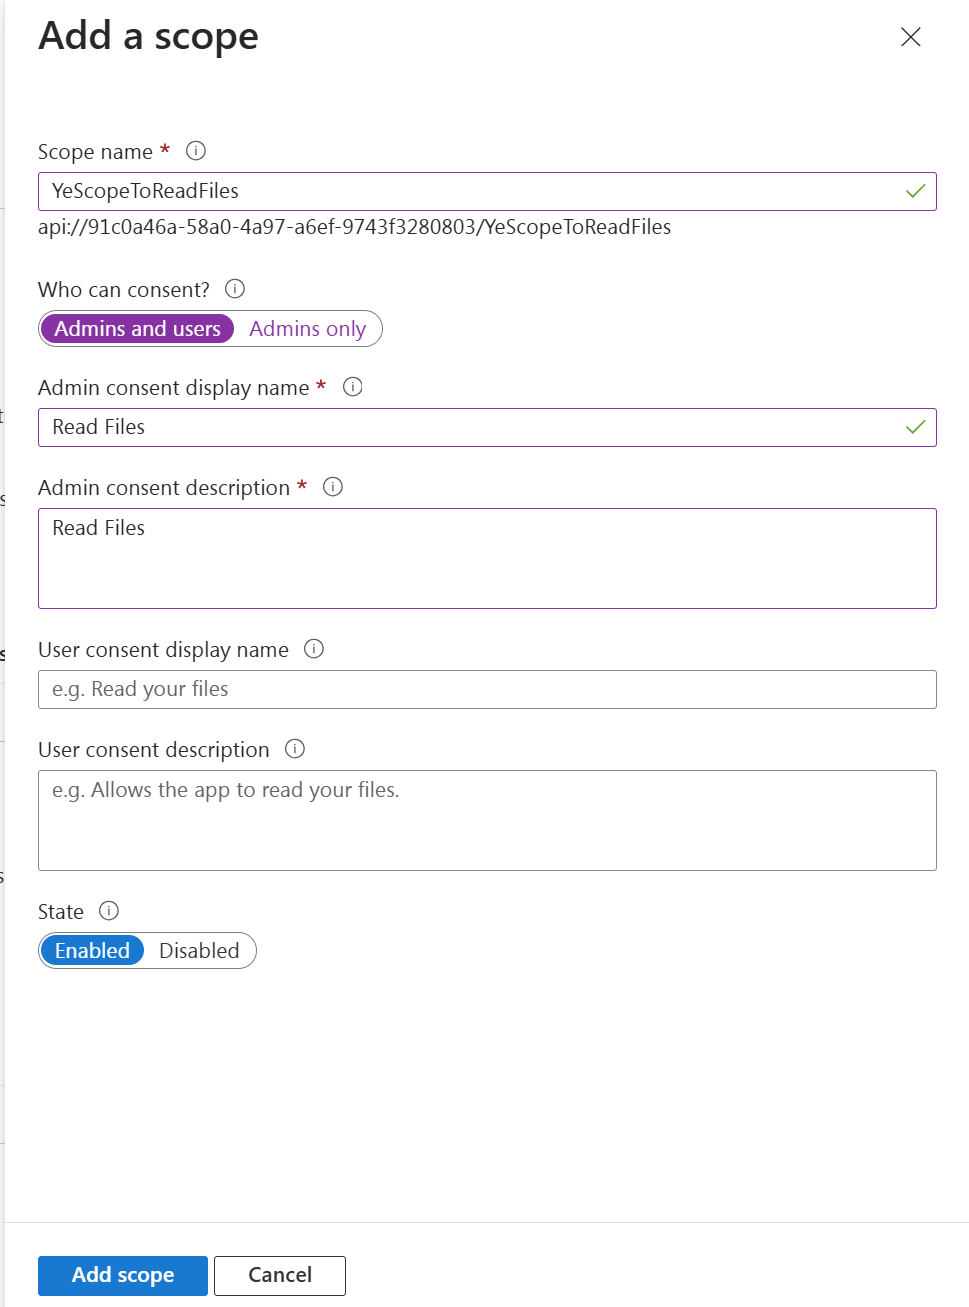
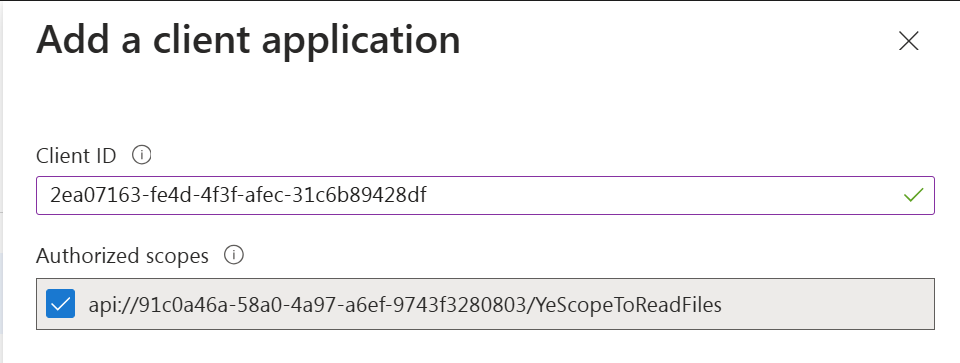
Expose an API

Step 4: Create a "Target" App Registration in Microsoft Entra ID (to be used by your agent)
🏴☠️ The steps to create the second app registration are the same except for the name, redirect URL and expose an API sections 🦜🌊
Provide a unique name for your app (e.g., "CCopilot Studio Agent - Captain GreyBeard - Target").
Redirect URI: Enter the redirect URIs
Expose an API

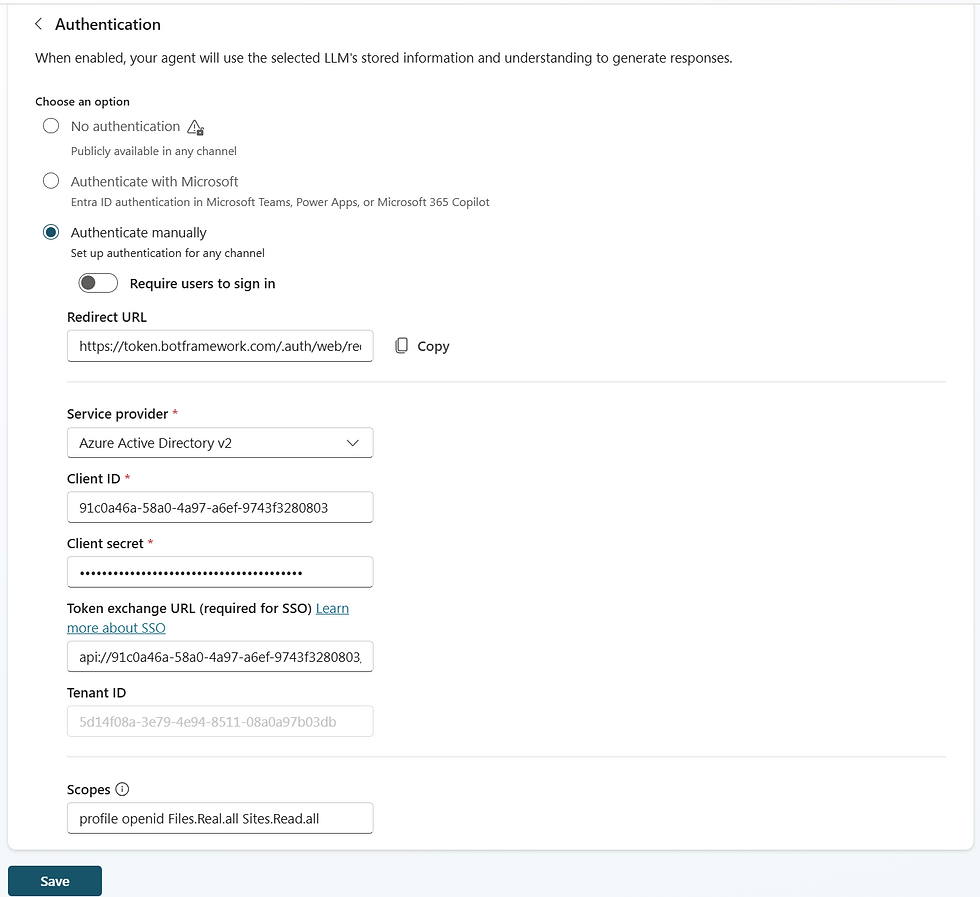
Step 5: Setup your Copilot Studio Agent security
Navigate to the Security
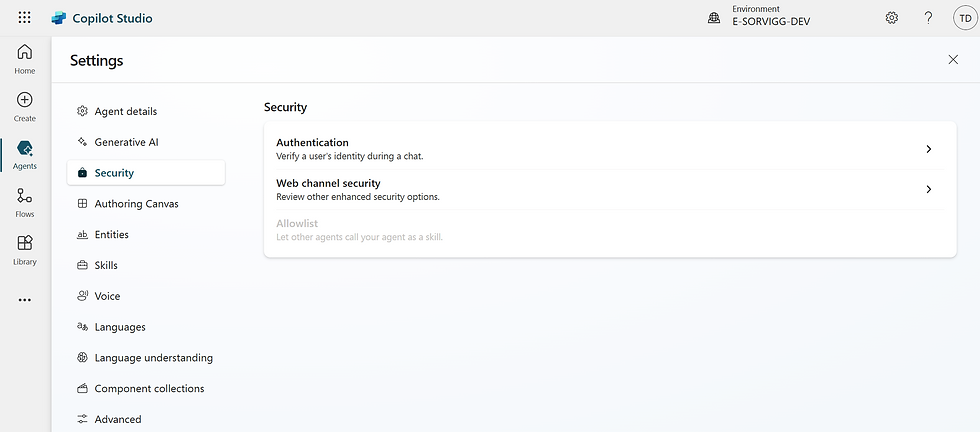
Finally, make sure to use the following settings for your agent:
Manual authentication
Redirect URL : https://europe.token.botframework.com/.auth/web/redirect
Service provider : Azure Active Directory V2
Client ID : the one from the App Registration – Target Copilot Studio
Client secret : one from the App Registration – Target Copilot Studio
Token exchange URL (required for SSO) : the one from the App Registration – Target Copilot Studio
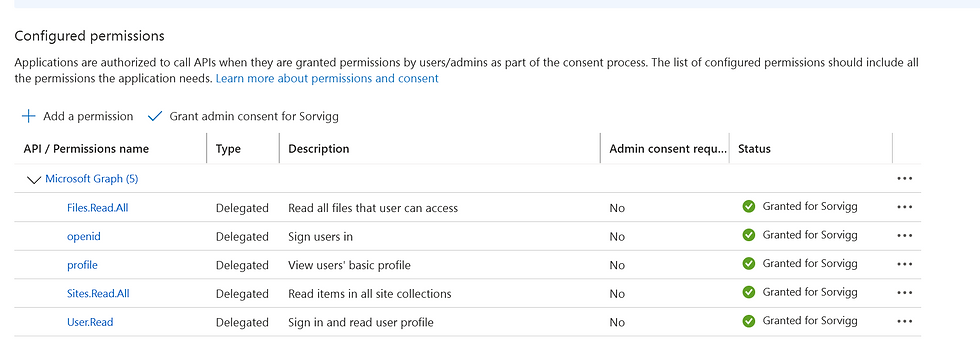
And finally, make sure to add the following scopes for SharePoint : [profile openid User.Read Files.Read.All Sites.Read.All]
Step 5: Obtain the Agent Token Endpoint
In order for you to obtain the Token endpoint, go to Channels -> Mobile App -> Token Endpoint

You can then use it to incorporate the agent in your site/app.
Conclusion
Configurin' single sign-on (SSO) with Microsoft Entra ID fer Microsoft Copilot Studio be a grand idea indeed!
It be providin' seamless authentication across all supported channels, makin' the user experience smooth as a calm sea.
By followin' the steps in this guide, ye can ensure yer users enjoy streamlined and secure access, boostin' their satisfaction by reducin' the need fer multiple logins.
Implementin' SSO not only improves security but also makes yer crew happier. 🏴☠️⚓️


Comments